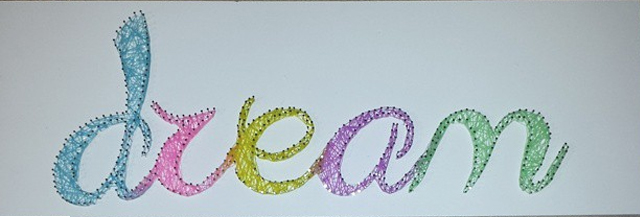
DIY Nail-Art Sign
Trying to figure out what to get a 11 year old as a gift is very frustrating, especially girls. They are to “old” for toys and to young to enjoy clothes.
Alas, I stumbled upon this string art tutorial that inspired me but I changed it up a little bit to fit my niece’s style. I decided to put the sign on wood so that it would last longer. I also decided to use those popular Loomy bands instead of strings. I also opted for the glow in the dark bands as an added bonus!

I got the wood from Lowes and had them cut it to the length I wanted. I also got the white paint there. I got the nails and loomy bands from Amazon.
To use the same word, “Dream”, as is shown in the photo you can download this template here. Cut out all of the letters and assemble into the word “dream” and tape the letters together. You do not have to cut out the middle of the de or If you would like to use a word other than Dream, you can download this free font Admiration Pants here.
Prepare and paint the wood the color of your choice a day ahead of time so it has enough time to dry. Don’t forget to paint the sides of the wood as well!
Tape the word “dream” to your piece of wood and then start the long process of inserting the nails around the letters and hammer them into the wood.
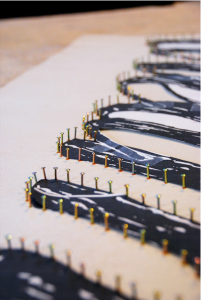
Photo from http://honeyandfitz.com/2012/02/16/diy-string-art-tutorial/
Once you have all your nails in place and hammered in, you can remove the dream paper sign.
Then you can take the Loomy Bands and start wrapping them around the nails in the color pattern that you want!

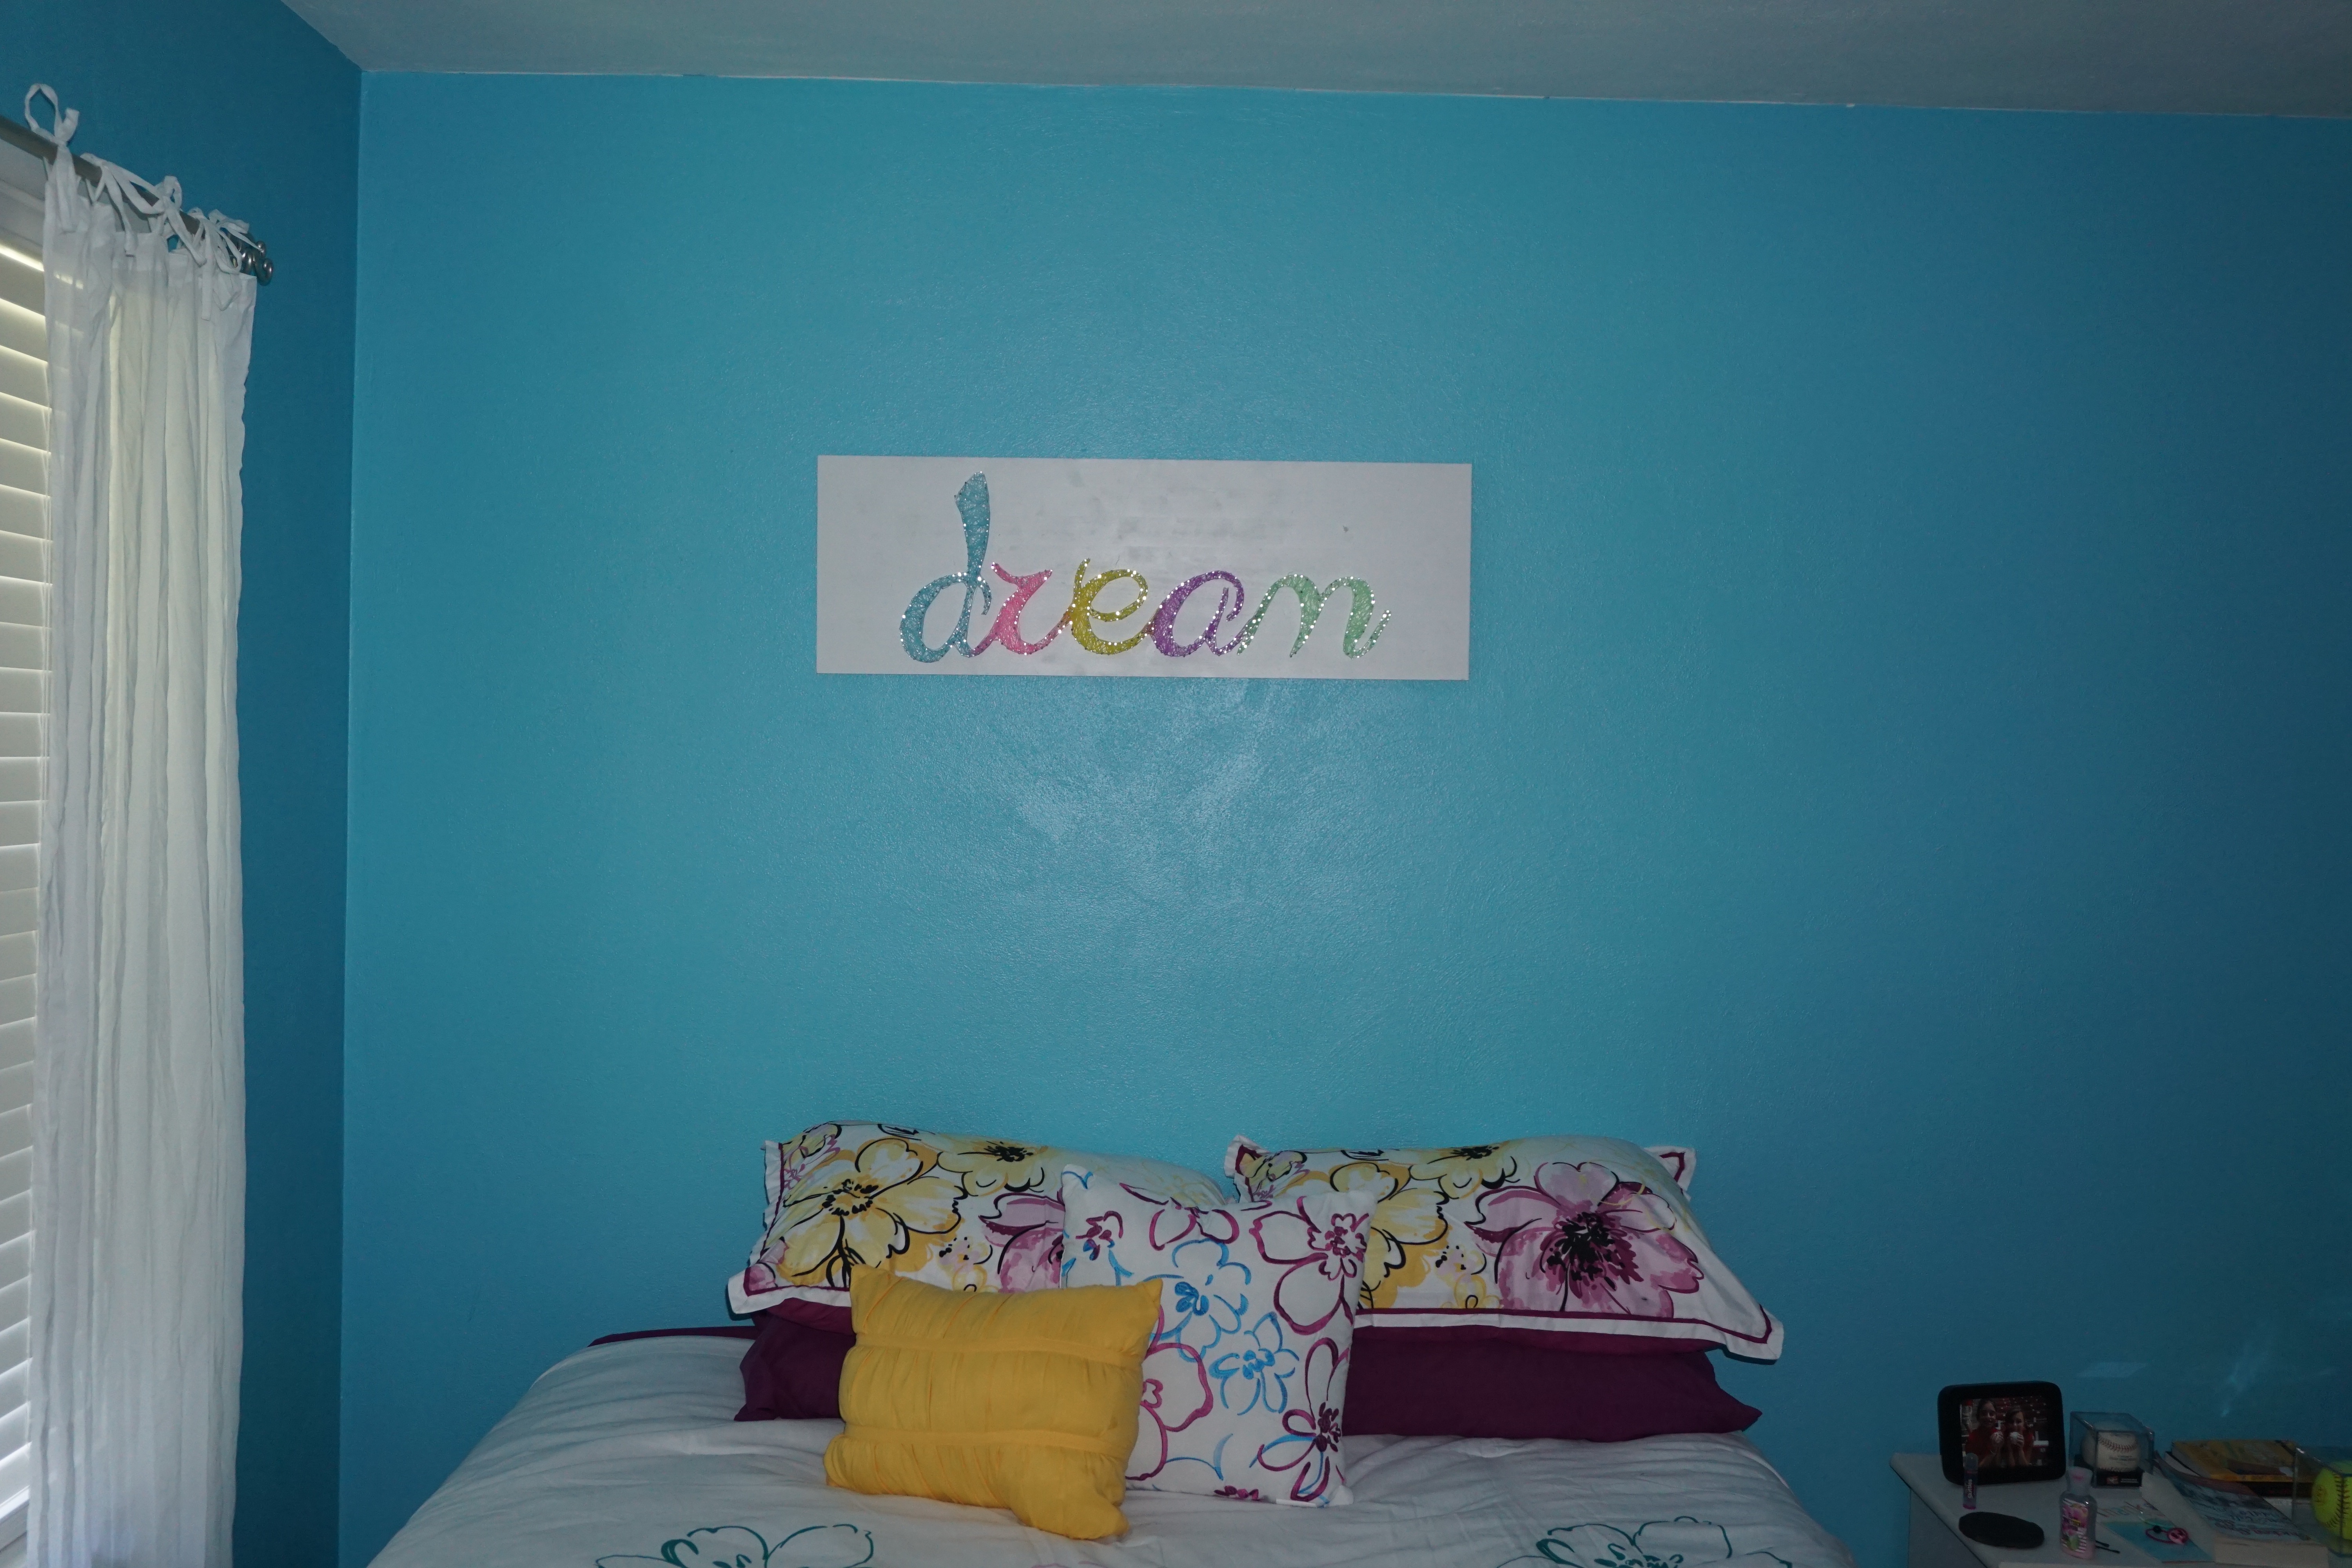
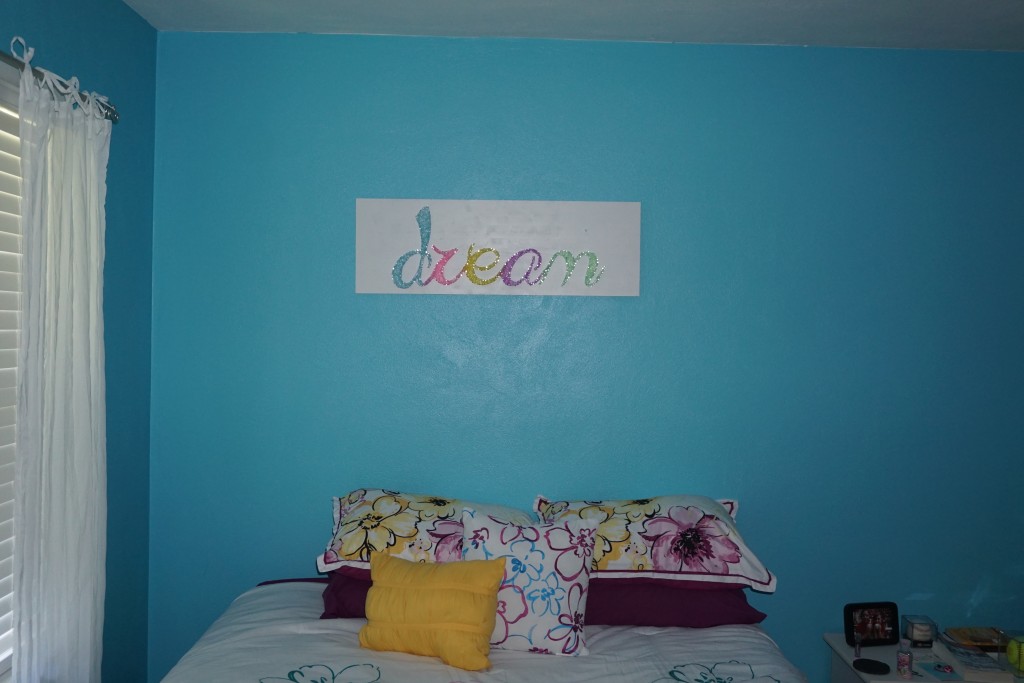
My niece loved the sign and she put it above her bed!
Feel free to post any questions or comments you have and I will be happy to answer!