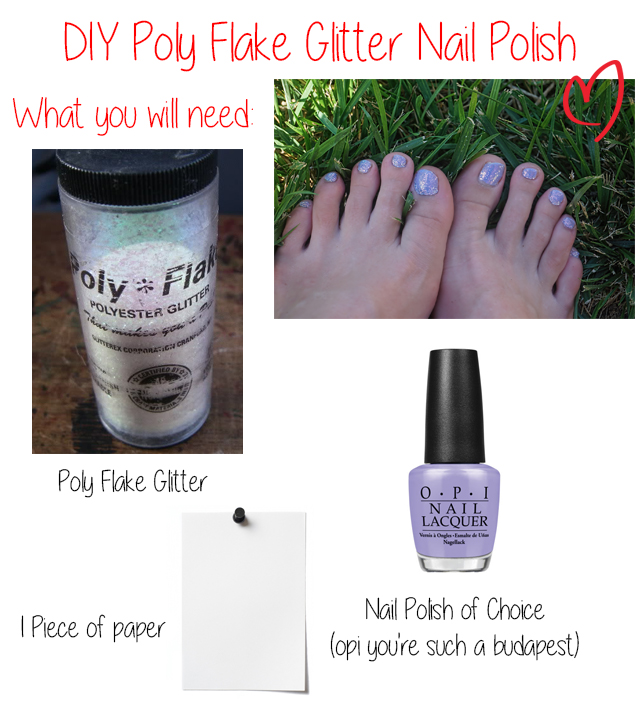
Nail Art- EASY Poly Flake Glitter Nails
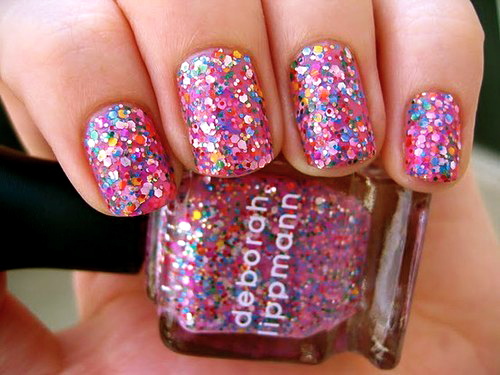
Everyone knows the struggles of those “glitter nailpolishes” that when you look at the bottle or the ad you think your nails will turn out like this
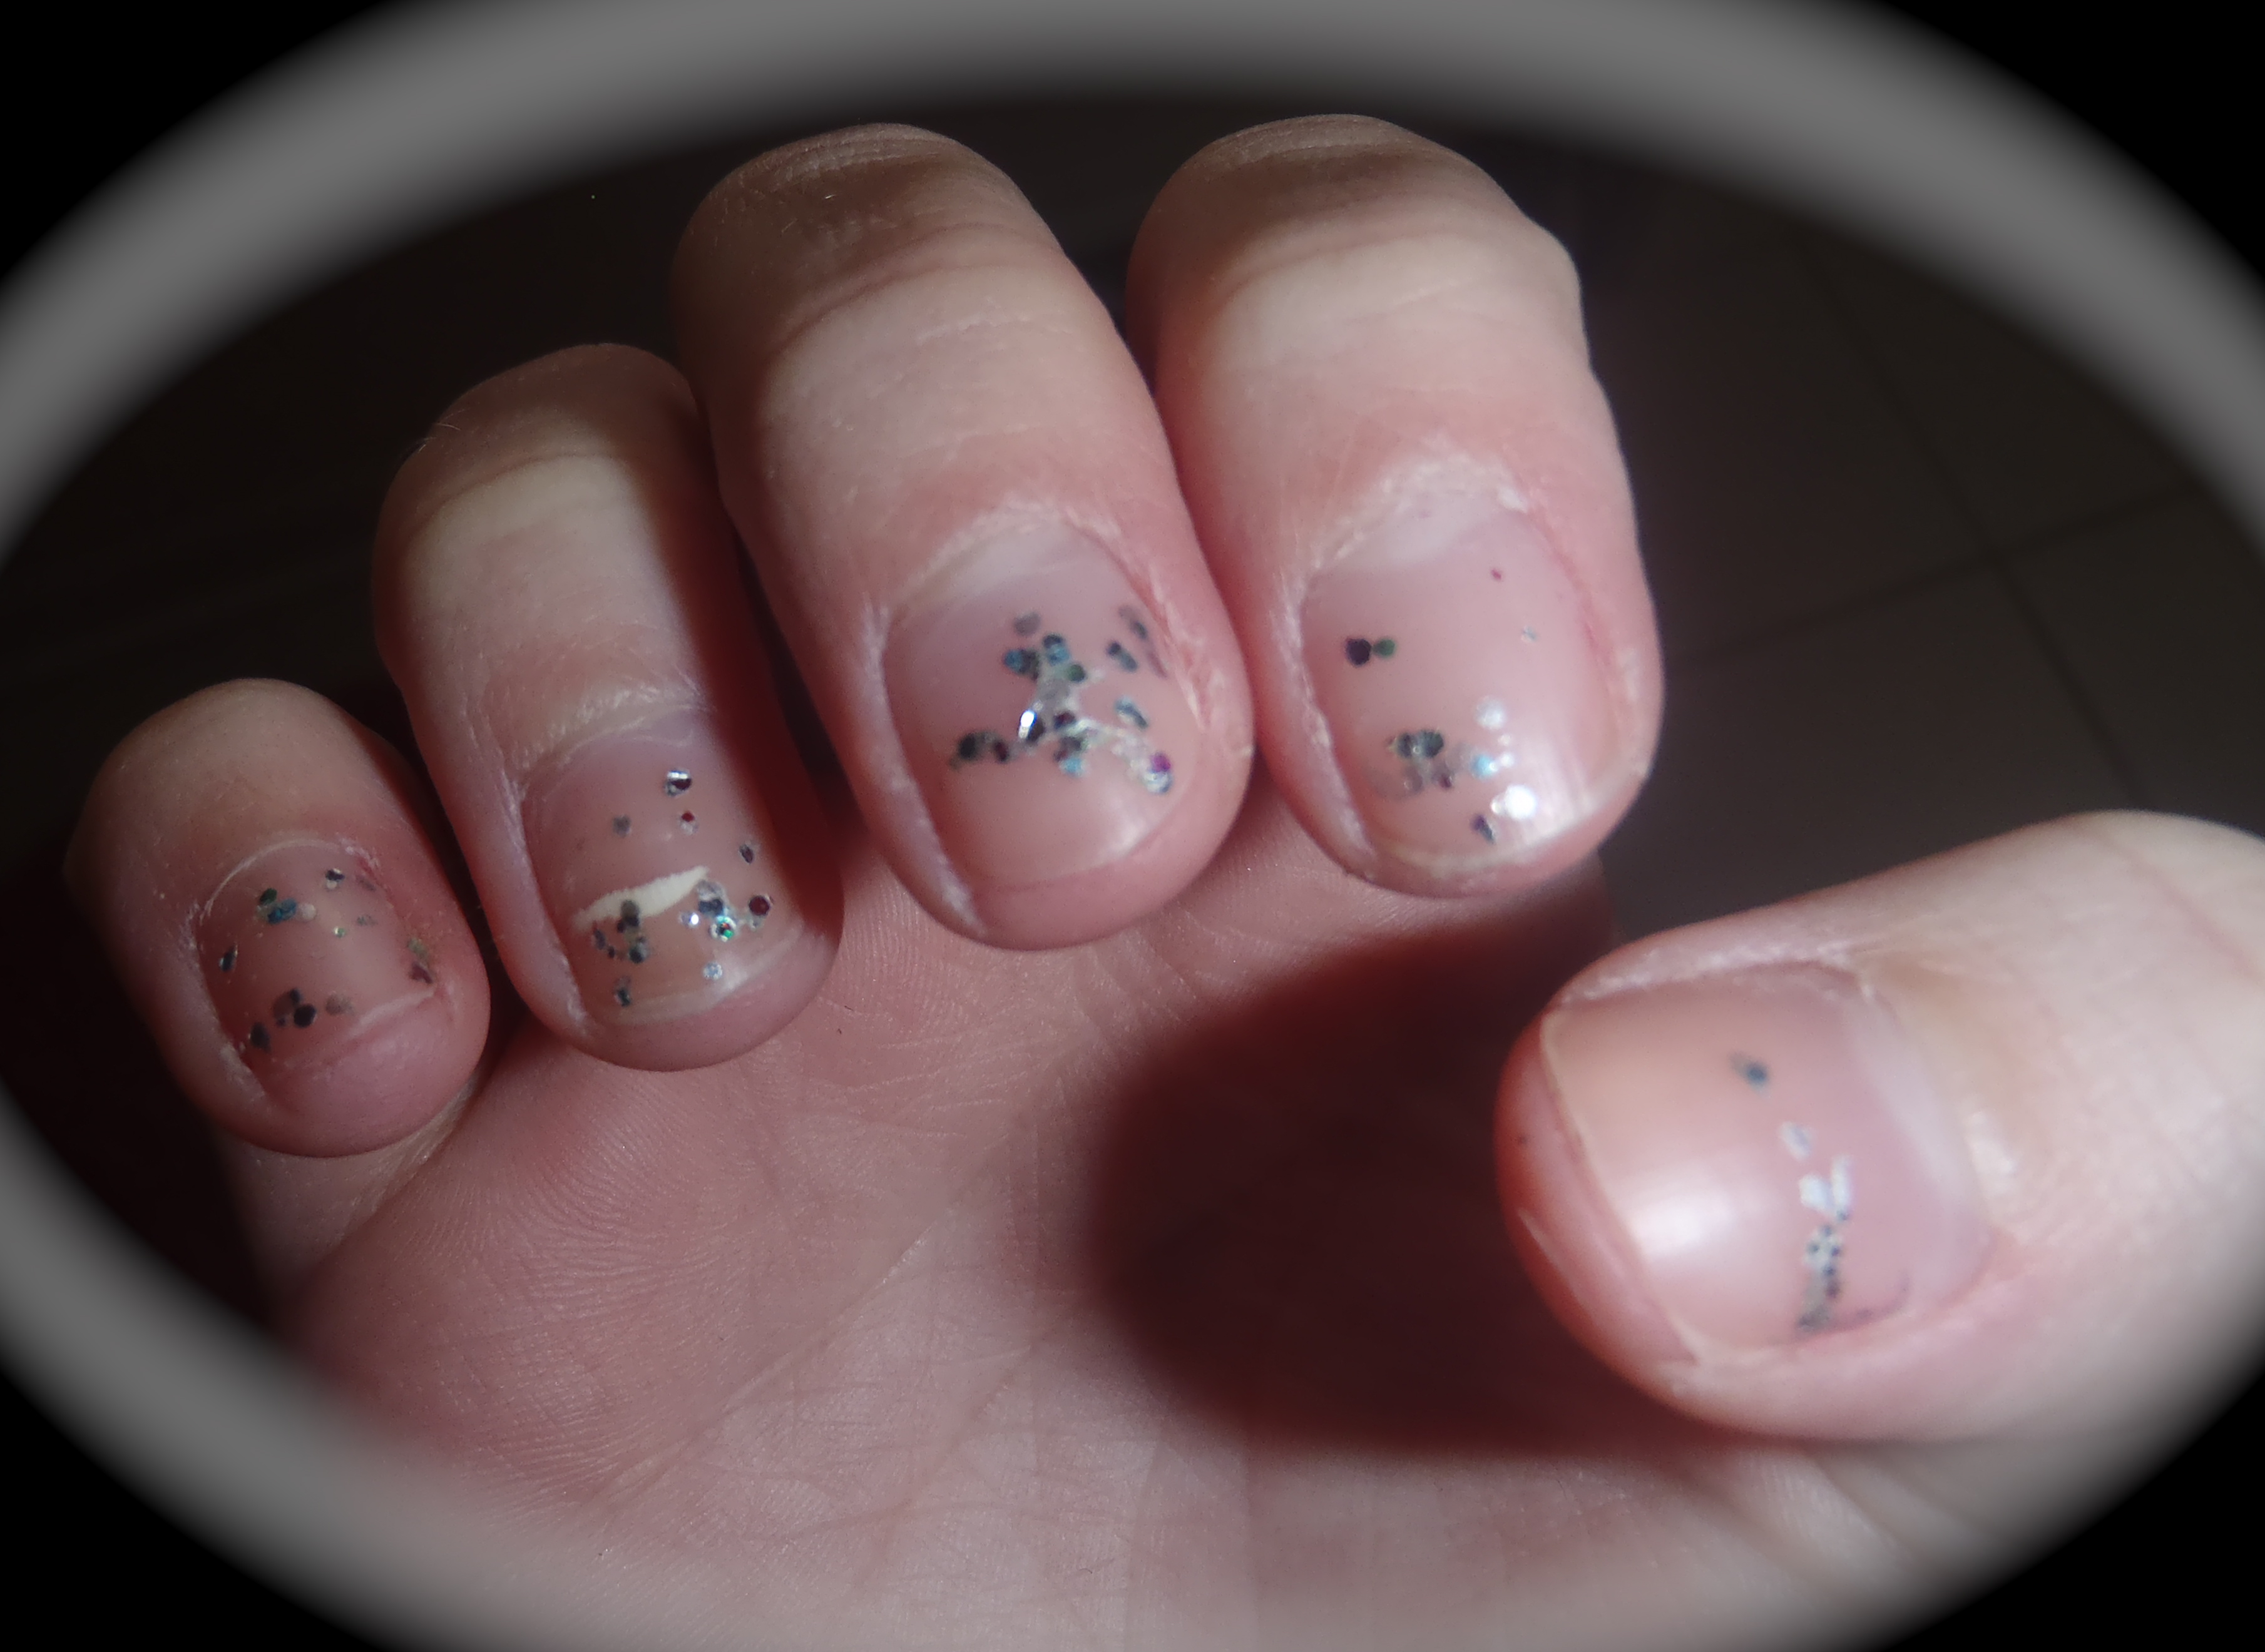
only for it to really turn out like this:
FEAR NO MORE! I have a easy cost effective solution! Poly Flake Glitter. It is a very extra fine glitter that shines like no other. It comes in many different colors. However, I just get the translucent one (that looks white). That way you can add it to any color nail polish you want and it will take on the color of the nail polish. You can find this glitter at a craft stores like Hobby Lobby. The small jar of glitter is around $10, however, it will last you for years!
What you will need:
• Poly Flake Glitter
• Nail Polish of choice (I chose OPI you’re such a budapest)
• A piece of computer paper
• A towel or something to do your nails on.
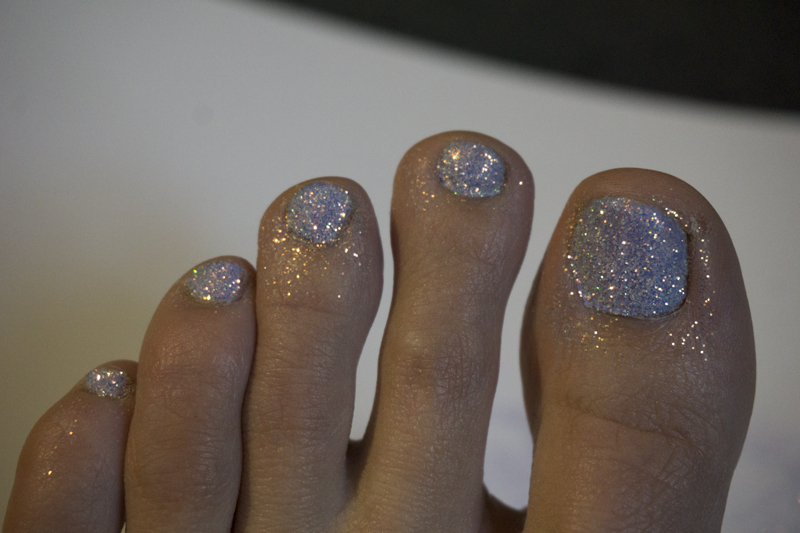
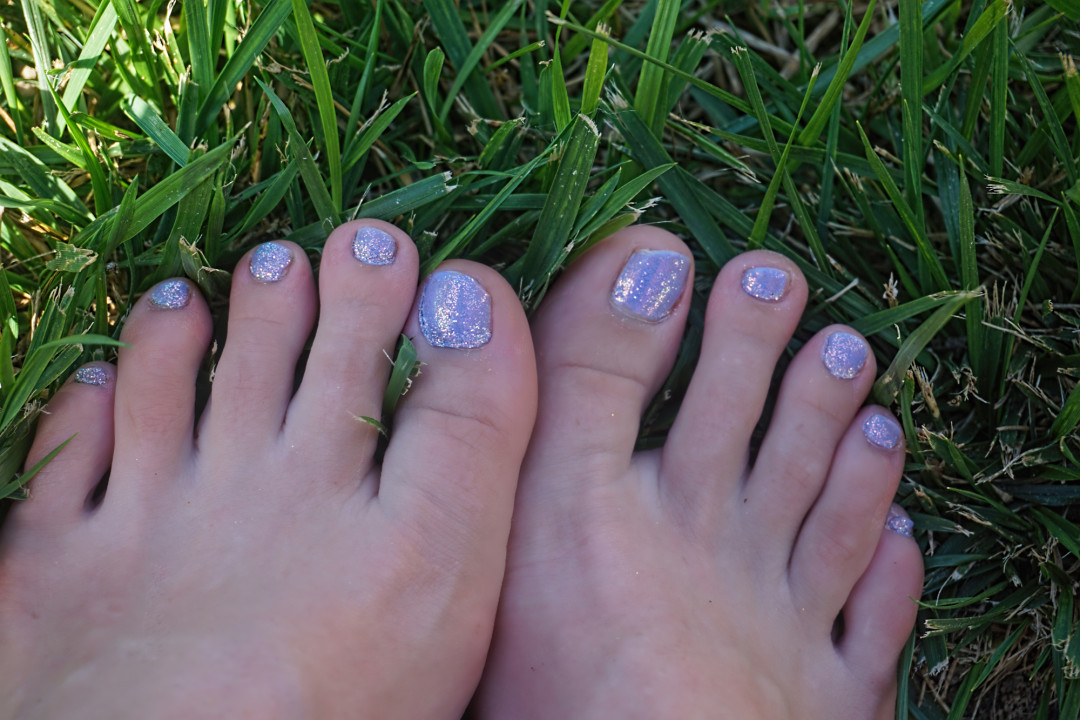
Get this look:
Step 1: Paint your nails the color of polish that you chose.
Step 2: Immediately after you paint (before it starts to dry) sprinkle the glitter onto the nails that are on top of the paper. That allows the excess glitter to collect on the paper.
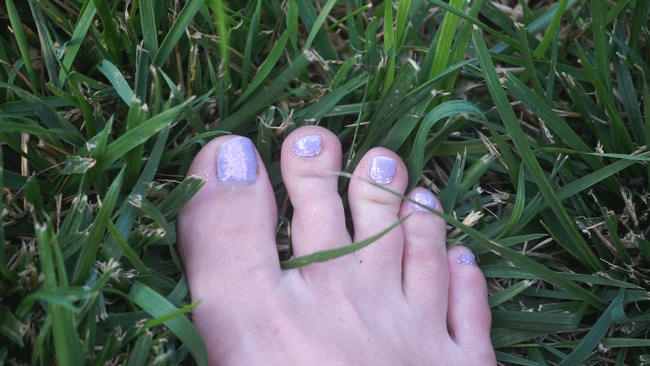
 Step 3: To shake off the excess glitter off your foot, use your fingers to flick the side of your big toe. This will shake the excess glitter off.

Step 4: After you have put the glitter on all toes, take the paper and make a funnel with it by folding it in half and then pour the excess glitter back into the glitter container.

Step 5: Your done! I would wait about 10-15 min to let the polish dry. Then once dry, you can wash off your feet to remove any left over glitter!